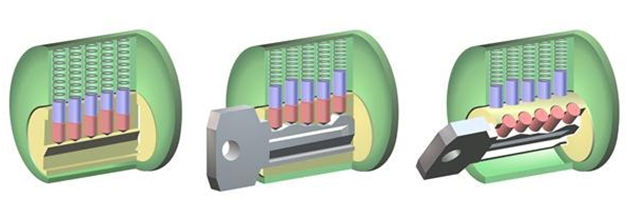
Most of the locks you encounter will work with a pin and tumbler cylinders. Rekeying a lock involves deconstructing the lock cylinder in order to reconstruct it with a new set of pins. This means the old keys will not engage the cylinder, and a new set will. To be able to rekey a lock, you must be able to understand how a lock works.
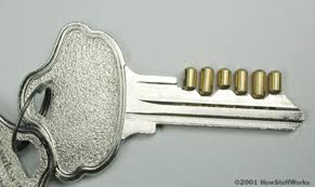
Bottom pins sit in the plug of the cylinder. They have many different lengths, which match according to the depths of the cuts on the key.When the lock is engaged, the top pins and bottom pins block the sheer line, preventing the plug from spinning. When the key is inserted, the bottom pins align according to the cuts in the key, and a sheer line is formed between the top and bottom pins. This sheer line enables the cylinder to spin, which rotates the tailpiece and engages with the latch.

The objective of this instructional is to rekey a pre-existing key and cylinder to a new set of keys. This instructional assumes that the cylinder has already being removed from the rest of the lock mechanism.
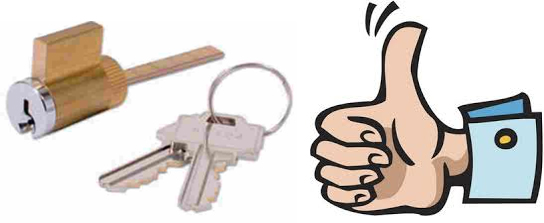
You need to have 1 cylinder with a working set of keys, another set of different keys, and all the tools listed above.
IMPORTANT: every piece of the cylinder has a purpose, losing any one item will destroy the lock. Make sure you rekey the cylinders above a flat surface, such as a desktop or work mat. As you dismantle the lock, set each piece carefully on the side in the order you dismantle it.
Dismantling the core:
- 1. Remove the end-cap using the end-cap remover. The tailpiece slides into the hollow core of the end-cap remover. Align the grooves of the end cap with the grooves on the end-cap remover, and rotate counter clockwise. *If you do not have an end-cap remover, you can remove the end cap by depressing the set pin with a pokey device while rotating the end-cap with your fingers.
- 2. Extract the set pin and set spring.
- 3. Insert the pre-existing key and turn 45-90 degrees
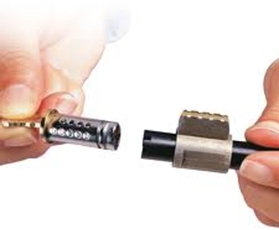
- 4. Press the follower against the back side of the core. Slowly insert the follower into the back of the cylinder, removing the core as you do so. This will keep the top pins and springs from exploding out of the cylinder as you remove the core.

Rekey the cylinder:
- 1. remove the bottom pins from the core. These can be disposed of or placed into a loose pins section of your pin kit
- 2. Replace the pins according to the depth of your new set of keys. This should be easily identified in your pin kit. The pins should sit flush in the core when the key is inserted.

Reassembly:
- 1. check for master pins in the top pin chamber by sliding the follower back and forth and applying pressure to the top pins with your tweezers.
- 2. With the key inserted into the keyway, slide the core back into the cylinder at a 45-90 degree angle. With your thumb over the keyway, spin the key back and forth a few times to check how accurate your pinning is. If it feels tight or stiff one or more of your pins are a little too big. If the cylinder is catching, your pins need to be readjusted accordingly.
- 3. With your thumb over the keyway, extract the key and reassemble the set spring, set pin, c-clip, tailpiece and end-cap. Thread the end-cap back onto the cylinder so that it is snug but not too tight. If the end-cap is on to tight the cylinder will feel stiff and may jam shut. If the end-cap is not on tight enough the key may get stuck in the keyway or you may have difficulty removing the key from the cylinder. If this occurs you can remove the key by holding the core with your thumb as you extract the key.
- 4. Check the key again. The cylinder should spin smoothly and with little resistance. At this time you should check the old keys to ensure that they no longer work.
Congratulations! You successfully rekeyed a lock.

